We currently live in a world where passwords alone are no longer considered secure for many organizations, projects and critical online services. Instead, we now rely on various Two Factor Authentication (2FA) methods to help prevent bad-actors from using an illegitimately obtained, guessed or bypassed password. They can also be used to generate private keys that live on the device, away from prying eyes.
In this guide you will learn how to setup your hardware key, use it to generate SSH keys and how to use it as an optional login method for your desktop.
Step 1
Choosing a device
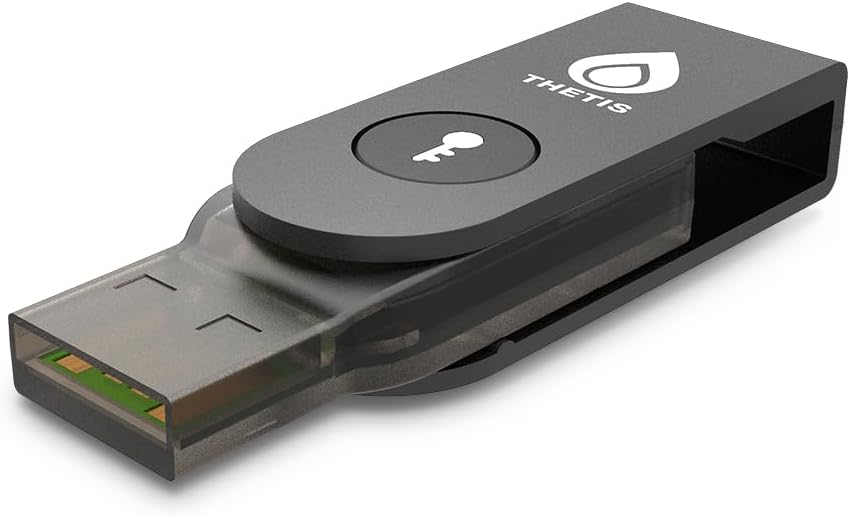
Any FIDO2 compatible hardware key will work. You can use one with just a button, one with biometrics or one that isn’t interactive at all. For this guide, I will be using the Thetis USB A with a button and NFC. So far, Thetis has been a quality device and costs a fraction of what a Yubi key costs. I picked mine up for $24 USD.
Step 2
Installing Packages
Now that we have our device in hand, we will need to download the Universal 2 Factor module for PAM.
Ubuntu
apt install libpam-u2fArch
pacman -S pam-u2fIf you are also using a Thetis key, you will need the following udev rule. It is not needed for other keys, but your key might need the same or similar. You will need to research it to find out. Enter the following command and reboot.
echo 'KERNEL=="hidraw*", SUBSYSTEM=="hidraw", MODE="0664", GROUP="plugdev"' | sudo tee /etc/udev/rules.d/thetisu2f.rulesStep 3
Registering the key
It is very important to follow this step AS THE USER THAT WILL AUTHENTICATE WITH THIS KEY
Plug your device in and run the following commands to generate and move the key configuration. Make sure to do this in two steps to preserve ownership of the keys.
pamu2fcfg > /tmp/u2f_keys
sudo mv /tmp/u2f_keys /etc/u2f_keys
Step 4
Configuring sudo access
Now, in order to use our key for sudo access, we will need to edit the PAM sudo config. This will allow us to use our key in place of our password, but also retain the ability to use our password if the key is missing or broken.
Add the following line to /etc/pam.d/sudo, just above @include common-auth
auth sufficient pam_u2f.so cue authfile=/etc/u2f_keysStep 5
Finalize Setup
Finally, if we want to be able to use this to login, then we will need to edit the login config.
Add the following line to /etc/pam.d/gdm-password, again just above @include common-auth
auth sufficient pam_u2f.so cue authfile=/etc/u2f_keys